If your home feels like a toy explosion zone, you’re not alone. STEM toys are fantastic for learning—but they come with lots of parts, bins, and boxes. After tripping over a robot for the third time in one day, we knew it was time for a better system.
That’s when we discovered the magic of toy rotation—and built our own DIY STEM toy shelf for under $20. It completely transformed how our kids play, learn, and stay engaged.
Here’s exactly how we did it—step by step.
What Is a Toy Rotation System?
A toy rotation system limits the number of toys available at any one time. Instead of offering every STEM toy at once, you display just a few curated options. Every week or two, you “rotate” the toys, refreshing interest and reducing clutter.
Benefits of toy rotation:
- Less mess and cleanup
- Improved focus and deeper play
- Rediscovery of “old” toys
- Reduced overstimulation
Why We Built Our Own Shelf
STEM toys can be oddly shaped—robot arms, building sets, circuits, and kits—so standard storage bins didn’t cut it. We wanted:
- Open shelving for visibility
- Enough space for rotating 5–6 toys at a time
- A clean look that didn’t scream “plastic chaos”
Materials We Used (All Under $20 Total)
You can adapt this based on what you have, but here’s what worked for us:
- Two wood crates ($4 each at a local dollar store)
- One 1” x 10” pine board (6 feet) – $9 at Home Depot
- Wood screws or nails – Already had at home
- Optional: paint or wood stain (we skipped this for simplicity)
How We Built It (in Less Than 1 Hour)
- Cut the board in half
This gave us two 3-foot shelves. Most hardware stores will cut it for free if you ask. - Stack the crates vertically
Place the two crates on their sides for height and stability—these act as the vertical supports. - Lay one board across the top of each crate
The pine boards become the shelf surfaces. You now have two open levels for displaying toys. - Screw or nail the boards in place
Attach the boards to the crates to stabilize them. It’s sturdy enough for STEM kits, books, and bins. - Organize your toys
Choose 5–6 STEM toys for display and rotate weekly or bi-weekly. Store the rest in a closet.
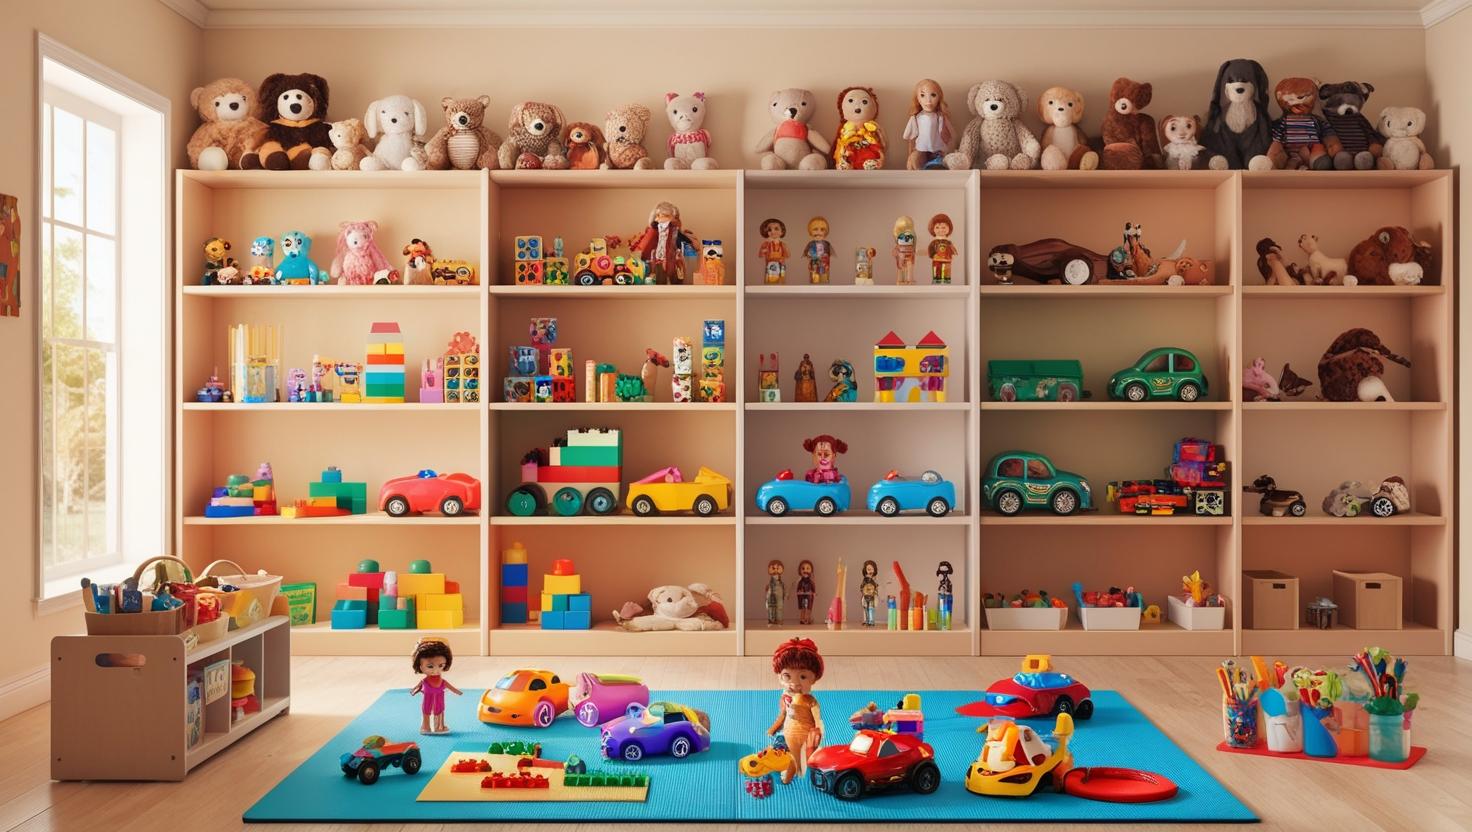
What We Store on Ours
- A coding robot (Botley or MatataLab)
- A magnetic tile set (like Clixo or Magformers)
- A small electronics kit
- A puzzle or logic game
- A STEM-themed book or story
You can label each shelf by theme or color-code by age/complexity.
Bonus Tip: Involve Your Kids
We found that involving our kids in selecting which toys to rotate increased their excitement and helped them stay invested. It also gave us a natural moment to talk about how and why each toy supports STEM learning.
Final Thoughts
You don’t need a Pinterest-worthy playroom to stay organized. With just a few dollars and a little creativity, you can create a rotation system that makes STEM learning more focused, fun, and clutter-free.
This simple shelf setup cost us under $20, and it’s one of the best parenting hacks we’ve ever used.